
A bit that has lost gauge still drills. That is the problem: the hole gets smaller, the casing does not fit, and the reaming trip costs more than the bit. Gauge wear is easy to measure and easy to ignore, which is why it shows up at the worst moment.
What gauge is
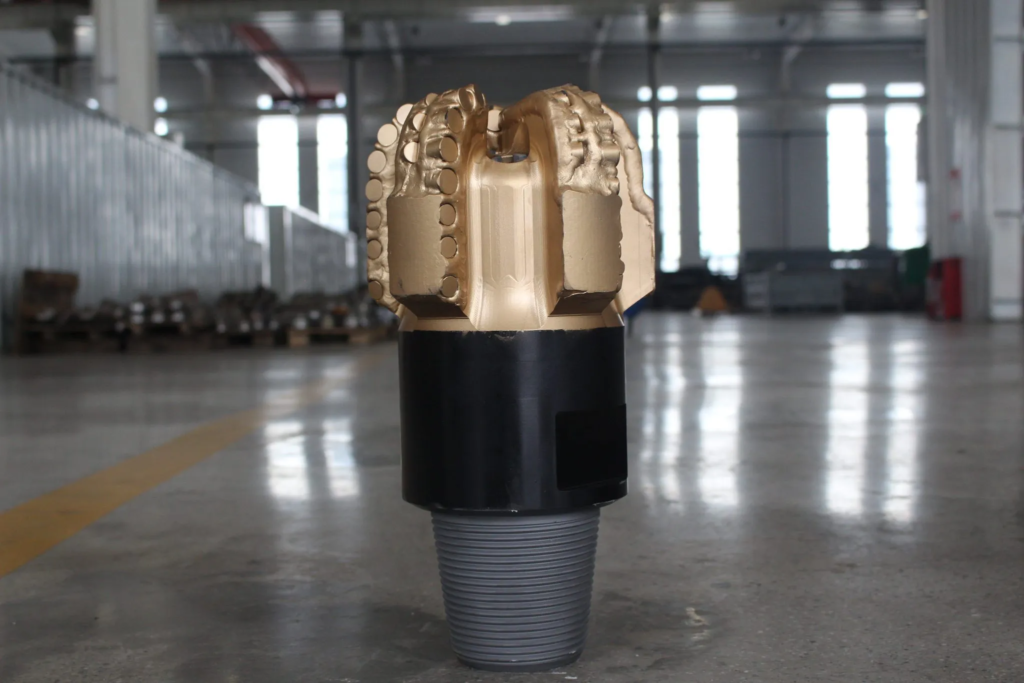
The gauge is the outermost cutting structure that sets the hole diameter: gauge buttons on a tricone, gauge pads and cutters on a PDC, the outer ring on a DTH bit. When it wears, the bit still cuts the bottom of the hole; it simply cuts a smaller circle.
How gauge wears
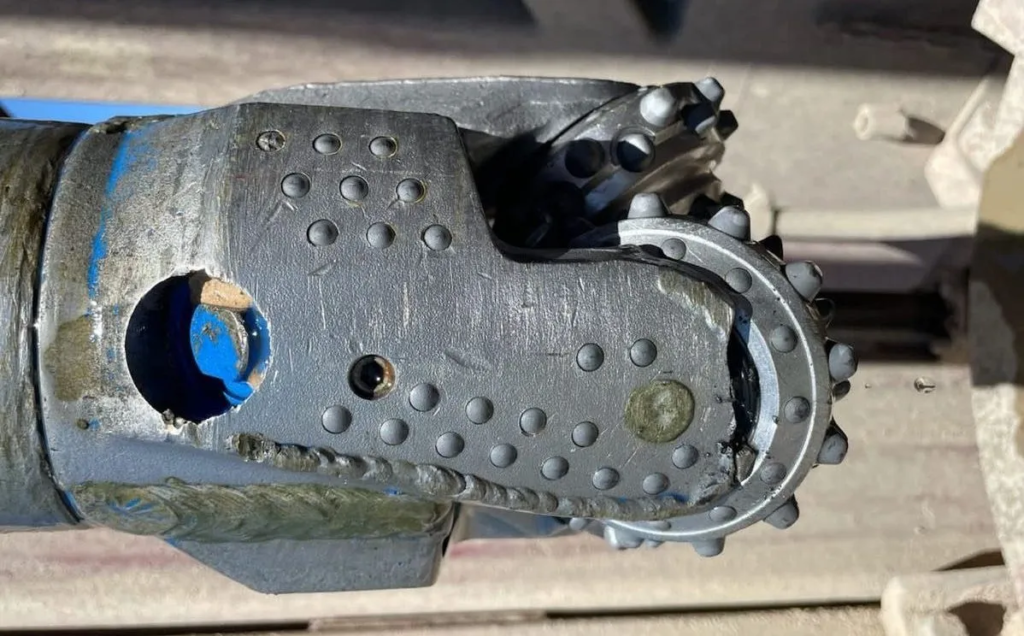
Abrasion is the common cause. Quartz sand wears flats on gauge buttons and pads, and the wear is rarely even: the side that carries the load wears first. Impact is the second cause: cobbles and broken ground break buttons, and a missing gauge button changes the diameter immediately.
Heat and side load do the rest. Insufficient cooling softens the body and accelerates wear; doglegs and an unstabilised string push the bit against the wall, so one side does the stabiliser’s job and wears out first.
The rate depends on the rock. Quartz sand can take 1 mm off the gauge in a few hundred metres, while clay may show almost none. That is why the same bit model behaves differently on two sites, and why a wear rate from one hole is worth more than a catalogue claim.
Measure it properly
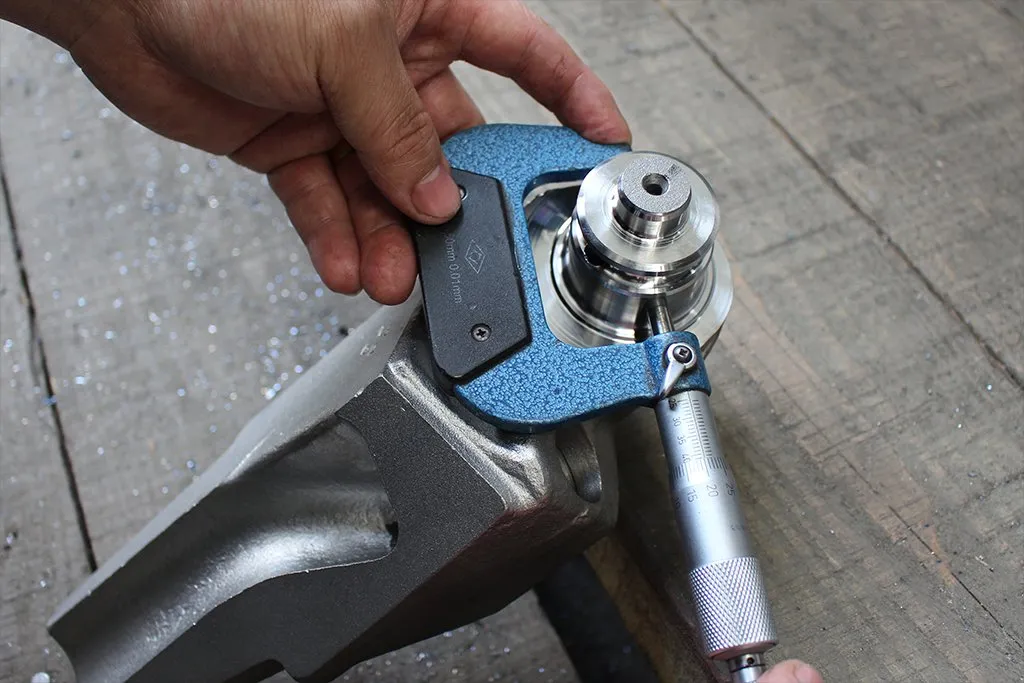
Use a ring gauge or a caliper at three points around the bit and compare with nominal. For casing work, a bit more than 1.5 mm under nominal is usually pulled; for blast holes it may finish the pattern. Record the measurement after every run so you can see the wear rate rather than guessing from the next casing job.
Keep a gauge log
Record the gauge at the start and end of every run, together with metres drilled, formation and parameters. After three or four runs you have a wear rate in millimetres per 100 m, which is far more useful than a single pass or fail. The log also shows whether wear is even or one-sided, and that tells you whether the problem is the bit or the BHA.
Symptoms
| Symptom | Likely cause | Action |
|---|---|---|
| Casing hangs short | Under-gauge hole | Ream or replace the bit |
| Torque rises near bottom | Gauge wear or dogleg | Check bit and BHA |
| One side polished | Side load | Stabilise the string |
| Missing gauge buttons | Impact | Change bit, review ground |
| Over-size hole | Bit wobble or new bit | Check stabilisation and gauge |
Prevention
- Specify gauge protection in the bit: IADC third digit and TCM or carbide gauge.
- Run a stabiliser above the bit instead of letting the bit guide itself.
- Ream to bottom after every trip.
- Control rotary speed in abrasive rock; speed buys ROP and sells gauge.
- Keep flow up for cooling, especially in air drilling.
- Measure gauge after every run and trend it.
The BHA is part of the fix. A stabiliser above the bit keeps the string centred and stops the bit from doing the stabiliser’s job. In directional holes, check the dogleg severity: a tight dogleg puts a side load on the gauge that no bit design can survive.
PDC, tricone and DTH
PDC gauge pads resist abrasion but chip on impact; tricone gauge buttons survive impact but wear flat; DTH gauge buttons are the sizing ring and are not repairable. The right choice depends on whether the hole fails by abrasion or by impact, which is why the pulled bit is the best specification document you have.
Correcting an under-gauge hole
If the casing will not pass, do not force it. Run a reamer or a hole opener sized to the casing drift, with enough flow to clean the cuttings, and ream the section before running casing. A short under-gauge interval can be corrected with a reaming pass; a long one may need a dedicated hole opener.
When to pull
Pull the bit when gauge is 1.5 mm under nominal for casing work, when a gauge button is missing, or when the wear rate is accelerating. For blast holes the same bit may finish the pattern, but do not carry a casing bit into a completion hole to save a trip.
Keep the pulled bit and write the gauge measurement on the box. The next order can then specify more gauge protection instead of repeating the same failure, and the workshop can see whether the wear was abrasion or impact.
We supply tricone bits and PDC bits with reinforced gauge protection, and hole openers and reamers for correcting an under-gauge hole. Send the bit size, formation and the gauge measurement from your last run and we will recommend the next bit.
Send your hole size, formation and rig details — we reply within 6 hours on working days.
Need Help Choosing?
Send your hole size, formation and rig details — we reply within 6 hours on working days.
Read More
Why Tricone Bit Bearings Fail (and How to Prevent It)
Most tricone bits fail at the bearing, not the teeth. Four failure modes, what the pulled bit tells you, and t...
Read More →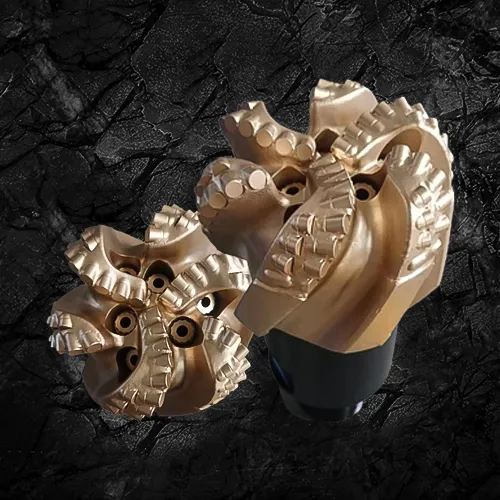
PDC vs Tricone Bits: Which One Should You Run?
PDC cuts faster, tricone survives tougher ground. A practical comparison of cutting action, cost per metre and...
Read More →
How to Choose the Right IADC Code for Tricone Bits
IADC codes define formation, cutting structure and bearing. Read the three digits correctly and spec the right...
Read More →